How do I train my dog to….

That’s easy ~ do Clicker Training with your dog. Here I will give you step-by-step instructions~!

Marcel and Gaspard are my boys who learned Clicker Training

What is a ‘clicker’ and what is ‘Clicker Training’?

  • A ‘clicker’ is a small device, usually disc shaped that fits into the palm of your hand. It has a button, usually in the center of it, and when you press the button it makes a distinct ‘click’ sound.
  • ‘Clicker Training’ is a process in which you give your dog visual and vocal cues, and when your dog does the command, you click and give them a training-treat on every click sound.

This is what the clicker looks like, you can click on the picture for more information.

What will I need to do ‘Clicker Training’?

  1. A clicker. (LaZimnInc Dog Training Clicker with Wrist Strap – Pet Training Clicker, Big Button Clicker Set, 2-Pack(Blue + White)
  2. Training treats. Zuke’s worked best for us, tiny, healthy and yummy (Zuke’s Mini Naturals Healthy Moist Dog Training Treats 3 Flavor Variety Bundle 6 Oz. Ea). You can also make your own treats, see my recipe here for one kind, and then when they are hardened chop them up into little bits, place in a zip-lock bag and carry them with you during training and keep in the fridge when not using.
  3. A timer. Your Smart Phone will do.
  4. A noise-free quiet place to train.

How much time should I spend Clicker Training with my dog in a day?

This is a very good question. Dogs, especially puppies, can get mentally worn out very quickly. You only want to spend 15 minutes training an adult dog (hence the timer). Once your 15 minutes are up – give it a two or three hour rest. Don’t do it more than 3 times in a day, it’s too much for their little minds. For puppies, only do 10 minute increments.

Note: It’s very important to note two things about your furry love;

First, if they are just a puppy (under 1 year old) their little brains are still developing, like a child infant’s, and you can’t epect them to get it right all the time and always do exactly as you say. A lot of patience is needed during the puppy stage, but it can be very rewarding and have a big payoff if you do it correctly.

Second, always keep in mind the size of your furry love. For example, my dogs are 15 pounds each. I’m a much, much bigger person than them. When I give them a treat, I may think in my mind, “oh, that’s just a little treat” but the size of that little chew bone you gave them is actually the size of a regular hotdog sandwich for us. You have to keep their ratio size in account to the amount of treats you give them, which is why, ‘training treats’ are always the way to go, not larger treats.

Gaspard and Marcel as puppies, 3 months.

These are the training treats we use. You can click on the photo for more information.

Training treats, it’s the size that counts, small so you can give multiple in a training session.

INSTRUCTIONS:

First the basics;

  1. Do not let your furry love see your bag of treats, otherwise, the focus will constantly be on that bag. It’s best to either keep a palm-full in your pocket, where you will pick one out at a time (when they are not looking) or in a zip-lock bag in a carry item. Try to grab the treat when your furry love is not looking, this takes the focus off the ‘treat location’.
  2. Sit with your furry love in a quiet environment, and show them the clicker, let them sniff it (as they do with all things). Start by just giving one click. Their little eyes and ears will perk up, at that moment they hear that click ~ give them 1 training treat. Wait now, until they get distract and are not looking at you (or smelling your pocket). Once they are distracted, click the clicker again. They will look, give them a treat. Only do this for your first training session. It will be the only time they will not have to ‘work’ for that treat.
  3. Important note: As you use the clicker you absolutely must always give them a treat when you click it. Even if you accidentally click the clicker, you must still give them a treat. This way they begin to understand they will always get a treat when they hear this sound.
  4. Throughout the day, have your bag of treats very close by. I kept them in my pocket because, during this part, you don’t want to click and then wait and go get the treat – that will defeat the purpose, keep your clicker and treats on you. As shown in the photo above, those clickers come with a wrist band, so you can literally have it around your wrist during your training period or through out a day you are hoping to catch them doing something good. If you happen to see your furry love do something right, for example, they go and pee on the wee-wee pad, (you have to actually see them doing this), as they are just finishing give them a ‘cue’ word and very quickly say; ‘wee-wee’, and a visual – point to the wee-wee pad and then say, “good boy/girl”, click the clicker, than give them a treat.
  5. During a new training session, lets say you want to train them to lay-down. Take a treat out. Let them sniff it and slowly back-up. This a ‘lure’ method and the dog will follow the scent. Place your hand with the treat low to the ground. Now with your free hand, point to them and then point to the ground, this is a visual cue (visual cues and verbal cues are very important in the training process), and give a cue word saying, “lay-down” at the same time. They might just stand there and try to sniff the treat out of your hand. Keep repeating the visual cue (pointing at them and pointing to the ground) while holding the treat to the ground and saying the cue word “lay-down”. The minute your furry love does this, click immediately and give them a treat. Now repeat this over and over no longer than 15 minutes. For the early training, stick with only this one learning pattern during one training session, it’s too overwhelming for them being taught one thing and then instantly changing to another. You will have to do this one training step over and over again before moving onto a new small step. Only after they have mastered some commands can your training sessions be varied.
  6. Important note: So, to re-cap, keep your treats hidden with you during the day and your clicker on your body to easily get to it. Watch to see if your dog does something during the day that is rewardable, say the word, click and give them a treat. You will use these steps for anything you want to train them to do. By giving visual cues (your finger pointing), and vocal cues, “come here”, clicking and rewarding you are giving them continual positive reinforcement as they learn the new behavior. Be patient, at first it will take them a while to figure it out, but once they figure it out, it will be very rewarding for both of you.

‘Sit’ training

  1. During a 15 minute training, get their attention, point to them (visual cue), and say, (vocal cue), “sit” and point downward with your finger as you say it. When they sit, click and give them a treat.
  2. Repeat this process, keep saying the cue word, “sit” and pointing your finger at them and then down to the ground as you say it. Remember that after they do it, you click, you give them the reward, you can also give positive reinforcement by saying, “good boy/girl” very enthusiastically.
Marcel ‘sitting’ like a good boy~!

Bathroom’ training

  1. I trained my dogs to use the wee-wee-pads. Most people want to train their dog to go outdoors. Keep in mind, dogs typically like to go to the bathroom during these times; 1) when they wake up in the AM, 2) when they have just finished breakfast, 3) when they just finished dinner, and just before they go to bed. During these times, start using a cue word like, “let’s go wee-wee”. If your dog has just eaten breakfast, give the cue word, “let’s go wee-wee” and take them outside. As they sniff around, the first few seconds you notice, just as they are about to do their business, and give the cue word “wee-wee~!” Just as they finish, click the clicker, and give them a treat. They will start to associate the cue word with going outside, going to the bathroom and getting a treat for it. All a win-win~!
  2. If your furry love does not go or does not get it right, do not scold, or berate them. Just ignore the bad behavior and continue to reward the good behavior.
  3. While doing this training, if you catch them going on a wee-wee pad or they do it first thing on command outside, give them a ‘jack-pot’ reward. Have a small canister with a bunch of training-treats in it and give it to them at once. But, try not to over-use the ‘jack-pot’ award – it should only be used as a special step where you didn’t have to repeat it or they did exceptionally well.

‘Stay’ training

  1. Hopefully you have taught your furry love, by now, how to sit. Have them sit and then say the cue word ‘stay’. Slowly back up, you can repeat the cue word ‘stay’ as you do it and I use the visual cue of pointing my finger at them directly as I back up. If your furry loves gets up and starts to come to you, take them back to the spot, have them sit and repeat.
  2. Once you get a good distance away, go back to them (you don’t want to be a distance away and say, “good boy/girl and click” they will come running and defeat the lesson of “stay”. Once you are close to them repeat the word ‘stay’, click, then give them the treat. You’ll want to keep repeating this, making the distance you step away longer and longer, you may even try going into another room and then coming back out to see if they are still in the same spot. If so, walk up to them, say, “good stay!”, click, and give them the reward.
Gaspard on his favorite bed.

‘Come here’ training

The command, ‘come here’ is very important to teach your furry love. There may be a time they get too far away from you and you need to command them to come back. For the training purpose make sure you can get a good distance from you dog but be in a safe environment, like a very large room, or fenced-in back yard.

  1. Give them the ‘sit’ and ‘stay’ command. Reward them when they do that with the clicker sound and treats.
  2. Back up a good distance and then give a visual cue, point your finger at them and then point it at your feet as you say the verbal cue ‘come here’. Keep repeating until your furry love comes to you, and the minute they come to you, click the clicker and give them their treat with lots of vocal ‘good boy/girl’.

Teaching fun tricks, like ‘roll-over’

  1. Have your dog do these tricks first, ‘sit’ (visual cue and vocal cue, click, give treat). Then, ‘lay-down’ (visual cue, vocal cue, click, give treat).
  2. Now that they are laying down, point your finger at them and do a rolling with the finger in a circular motion. Without hesitation, take the treat, put it by their nose, then move it slowly in a circular way over their head, they will be looking at it and most likely start to go into the position of rolling-over to follow it. Once they do the full roll-over, you can click and reward them. Repeat the cue word so they get to associate your finger roll, the word ‘roll-over’ with doing the action. Once they learn it, you will say, “roll-over” and twirl your finger, and they will roll over. Pending the ‘click’ and the ‘treat giving’.
Marcel’s favorite trick is to roll-over. He loves his rewards too, if you haven’t noticed by the photo.

Question: Once I’ve taught my dog the things I want him/her to learn, do I always have to use the clicker?

Great question. The answer is ‘no’. As time goes on, you give them the command, “roll-over”, visual ‘point finger at them and twirl it’, (and make sure this is well after they have learned the command) don’t use the clicker, just say, “Good boy/girl” and give them a training treat. Then the next day, try it again, always giving the visual cue (finger point) and vocal cue (‘sit down’) and then when they do it ~ “GOOD BOY/GIRL”, but this time, don’t give them a treat. Just pet them and give them a nice scratch under their chin. They will probably look at you like, “hey, where’s my treat?” but the positive tone of your voice and the quick pat, will eventually be enough – because – all dogs want to please their owners. It still doesn’t hurt, once in a while, to do the clicker as a brush-up training and/or to give training treats, just so they always remember there’s some type of reward.

This pretty much sums up the basics on clicker training. Once you and your furry love understand the ‘visual cue’, ‘vocal cue’, ‘click’ and then ‘giving them the treat’ – you can virtually teach them anything. Remember to keep training to only 15 minutes and no more than 3 times in one day. Good luck and let me know how your clicker training went~!

Please keep in mind that all dog tips should first be consulted with your vet to make sure they fit the needs and special instructions your furry loveā€™s Dr. advises. Especially with food that you give them.

The best homemade dog treat recipe

Peanut Butter Pumpkin Bones

  • Difficulty: easy
  • Print

Dog treats can be expensive, and when you look at all the ingredients they put in them, well, most are not the healthiest of choices. I like to know what exactly is in my treats and my boys, Gaspard and Marcel, absolutely love these Peanut Butter Bones.

Ingredients

  • 2 1/4 cups whole-wheat flour (we use King Arthur ~ see bottom of page for link)
  • 1 tbsp, baking powder
  • 1/2 can of pure pumpkin (use the other half to add to their food – as pumpkin is very healthy for our furry loves and their digestive system)
  • 1 cup of all natural peanut butter (chunky or smooth)
  • Note: make sure you are getting ‘All natural peanut butter’ otherwise you will be feeding your dog large doses of sugar laden peanut butter (the regular kind) – definitely not a healthy way to go. Also, it’s very important to know that in some countries, they make peanut butter, advertising it as light, lite, or sugar free or natural by using an artificial sweetener called “Xylitol”. You must read the labels of any peanut butter you are going to feed your furry love to see if the ingredient Xylitol is in it. Xylitol is complete poison for dogs and it will kill them, even in small doses. Please be sure to check all peanut butter labels before buying.
  • 1 teaspoon of unrefined coconut oil (melted)
  • 1/4 teaspoon of cinnamon
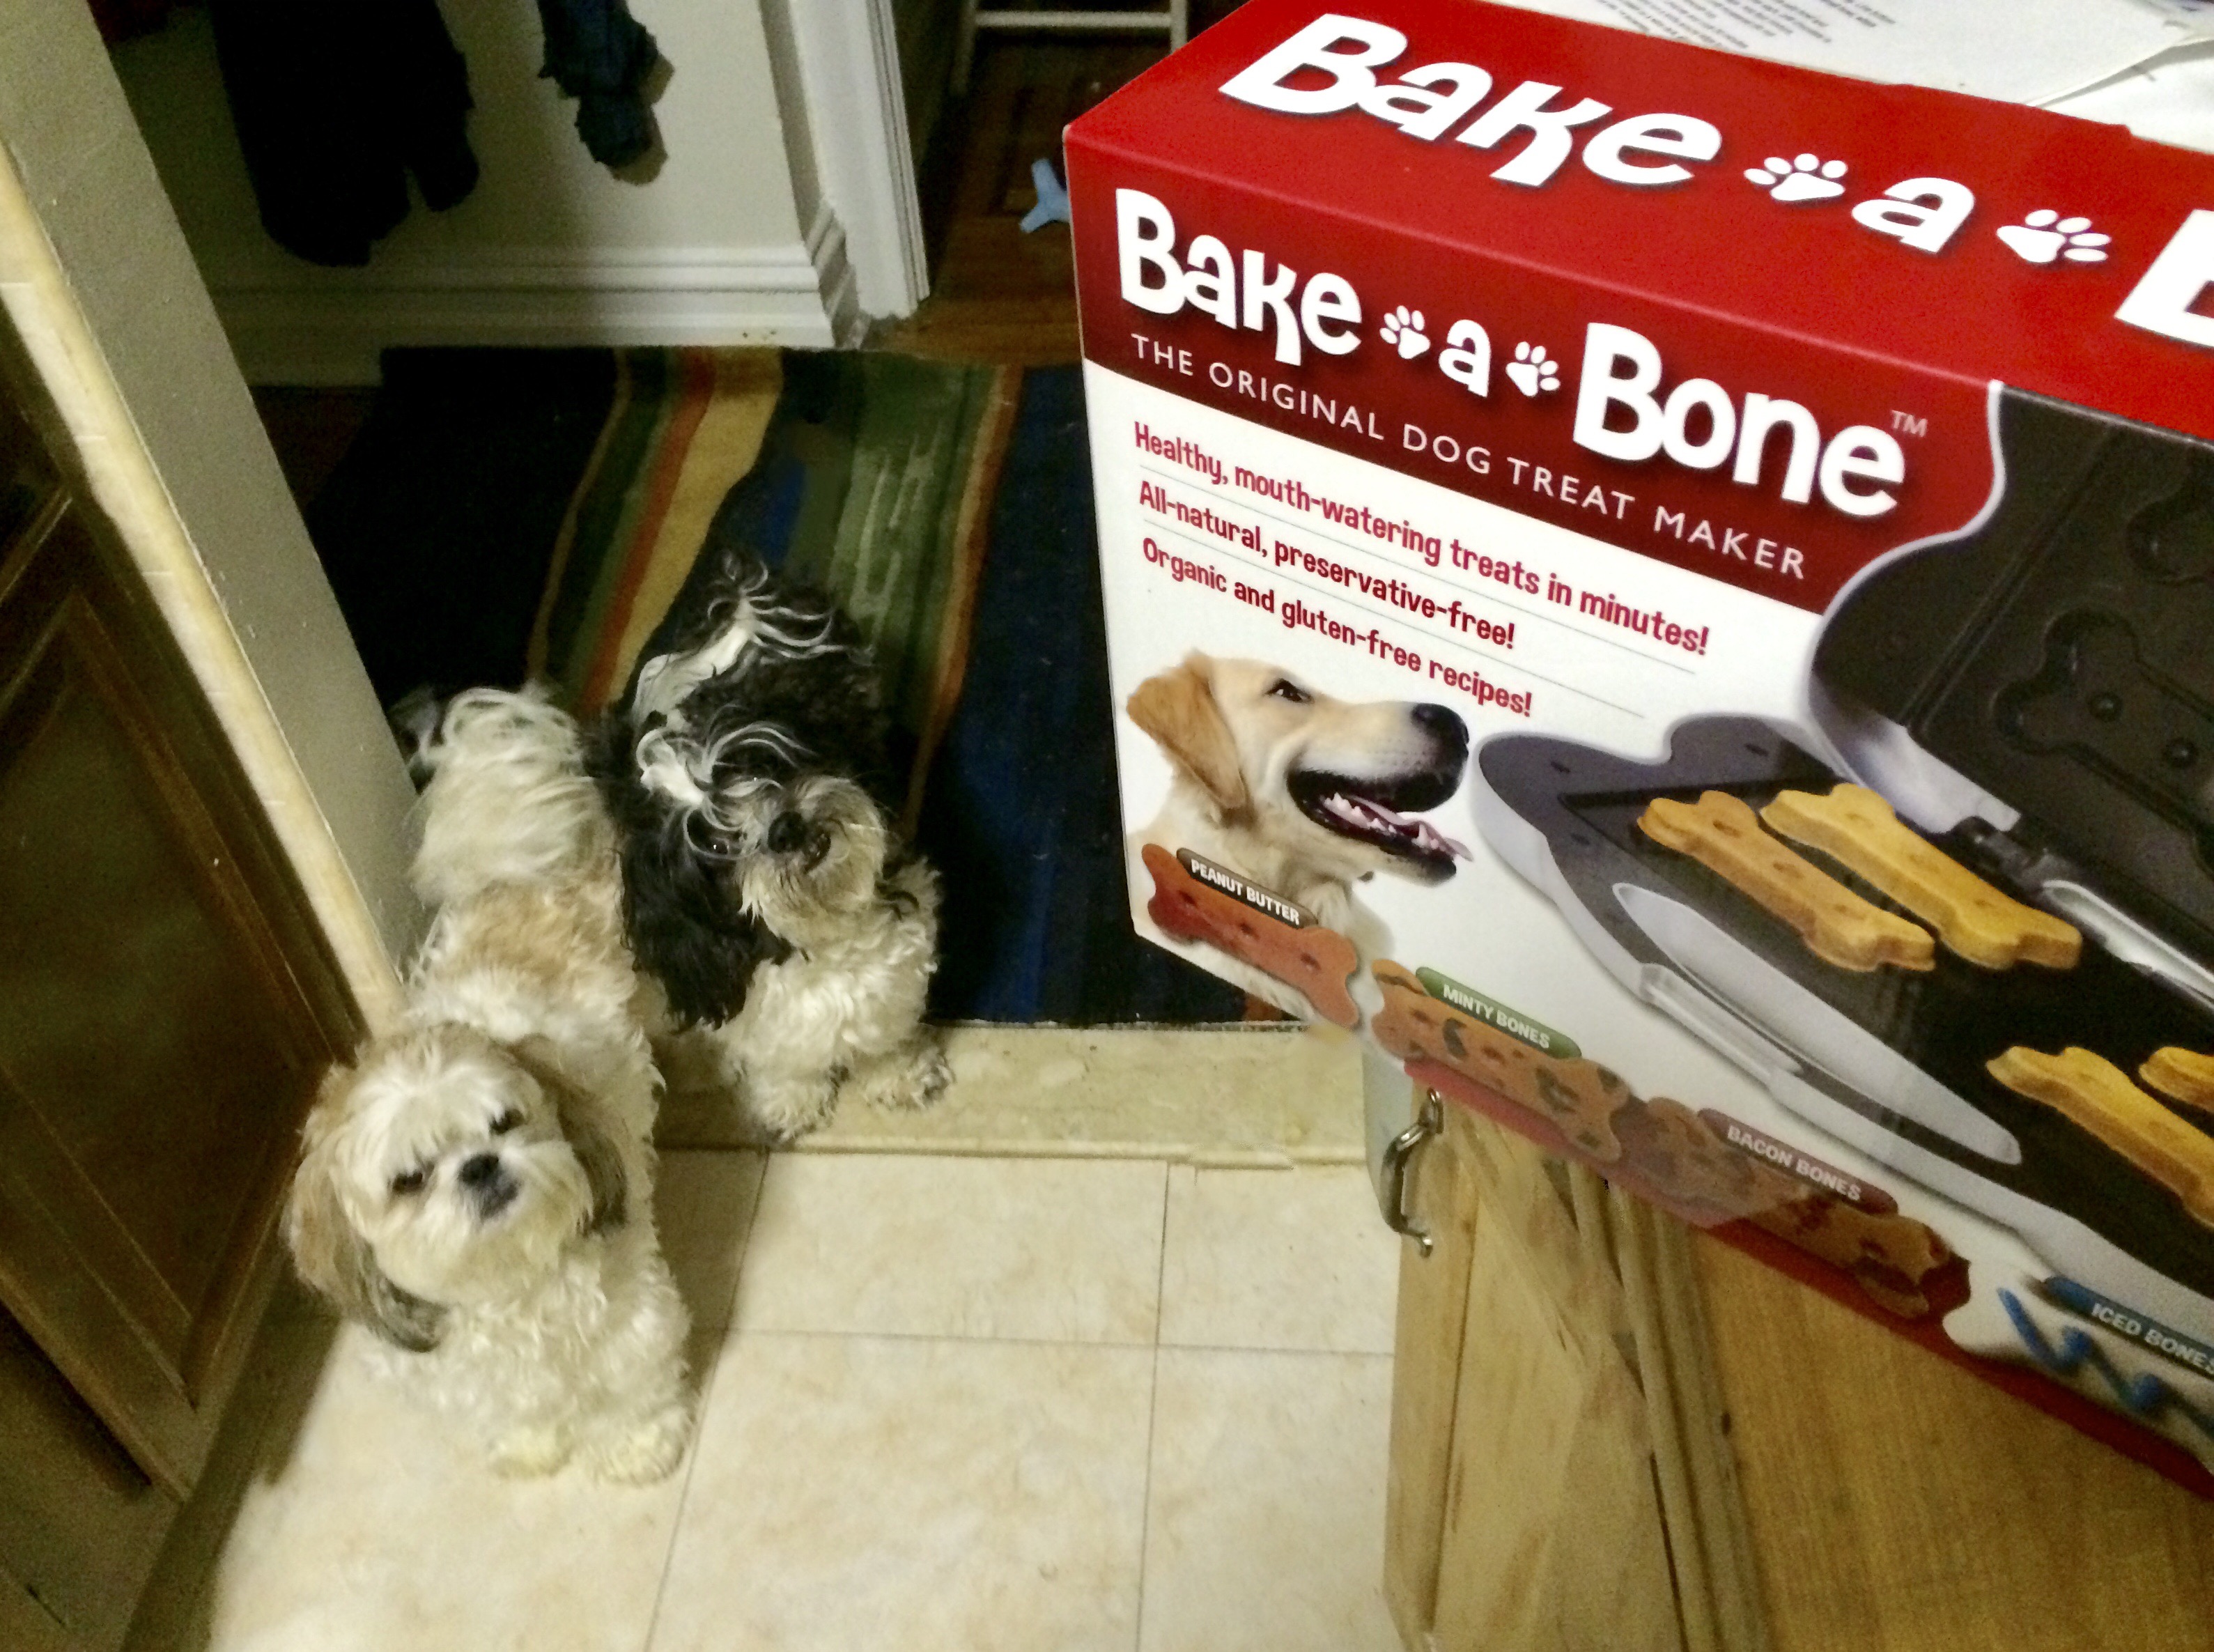
Note: there are two methods to make these treats. There is a product called Bake-A-Bone (much like a waffle iron, but shaped like dog bones, see below link to purchase), which we use, or you can use the oven method. I will leave instructions for both.

Directions

    Instructions using the Bake-a-Bone machine: Note: Refer and fully read the Bake-a-Bone manual before operating to understand everything about it, including risks.
  1. Start by plugging in your Bake-a-Bone, when the green light comes on, it’s ready to use.
  2. Placing all ingredients in a large bowl. I take the peanut butter and put it in a microwave safe bowl and heat it for about a minute to melt it a bit – this makes it easier to work with. You can also put it over the stove in a double boiler, simmering water, for about 10 minutes to get the same affect.
  3. With a strong, large, silicone spatula or spoon, start to mix everything up really well, it will become the consistency of a paste.
  4. Open the Bake-a-Bone if the light has turned green. Using the spatula, put the batter in the Bake-a-Bone molds 1/8″ above each of the mold walls.
  5. Close the lid and let it bake for 10 minutes (for safety reasons, use a timer).
  6. Remove from Bake-A-Bone, trim off excess edges to make a clean ‘bone’ look. Cool on a rack for 30 minutes.
  7. This method will yield a slightly soft bone treat that is ready to feed. If you would like to make them dry and harder, simply put them on a cookie sheet (when done baking in the Bake-a-Bone) and place them in a 250 degree Fahrenheit oven for 45 minutes. Then turn the oven off and let them sit in the oven for an hour.
  8. Store the treats in an airtight container and refrigerate. (If you leave them in a treat jar at room temperature they could yield mold so definitely keep them refrigerated).
  9. If you make a large batch, keep half of them in an airtight container in the refrigerator and half of them in an airtight container in the freezer. Thaw before serving the frozen ones.

Directions

    Instructions for using your oven:
  1. Pre-heat your oven to 350 degrees Fahrenheit.
  2. Mix the same ingredients as listed above, but if the batter is too runny, add more whole wheat flour – you want it to form a texture like cookie dough. You can also add one egg to help make this texture.
  3. After fully mixing, place the batter on parchment paper on a cookie sheet. Place another long strip of parchment paper over the top of the batter and roll it down until the batter is about 1/2 inch thick on the cookie sheet. Discard the top layer of parchment paper.
  4. Using a cookie cutter of your choice, cut out the shapes of the treats, gathering excess dough and reshaping to use it all up.
  5. Place the cookie sheet in the pre-heated oven for 40 minutes. Turn the oven off and let them sit in the oven for an hour. Allow to cool before feeding and storing in airtight container in the refrigerator or storing in the freezer.
Note 1: You can also buy silicone pre shaped molds (see below link) – we have this as well, because you can make other kinds of treats that you can freeze for those hot summer months when they need a cooling down treat.

Note 2: Remember that often our furry loves are much smaller than we are. One treat bone can be the equivalent of humans eating it at the hotdog size portion. Feed your dog sparingly or use them as special rewards but don’t over feed them treats or use them as a supplement for their food. Trust me, they will love these and continually ask you for more~! Happy treat eating~!

Please keep in mind that all dog tips should first be consulted with your vet to make sure they fit the needs and special instructions your furry love’s Dr. advises. Especially with food that you give them.

Links to buy:

Bake-A-Bone The Original Dog Treat Maker

GYBest GGT01 Food Grade Large Ice Cube Trays, Silicone Baking Molds, 2-Pack, Red

King Arthur Flour Flour Premium 100% Whole Wheat 5 Lb 2 Packs

Teddie All Natural Peanut Butter, Smooth, 26-Ounce Jar (Pack of 3) (Packaging may

vary)

Carrington Farms Gluten Free, Unrefined, Cold Pressed, Virgin Organic Coconut Oil, 54 oz. (Ounce), Coconut Oil For Skin & Hair Care, Cooking, Baking, & Smoothies

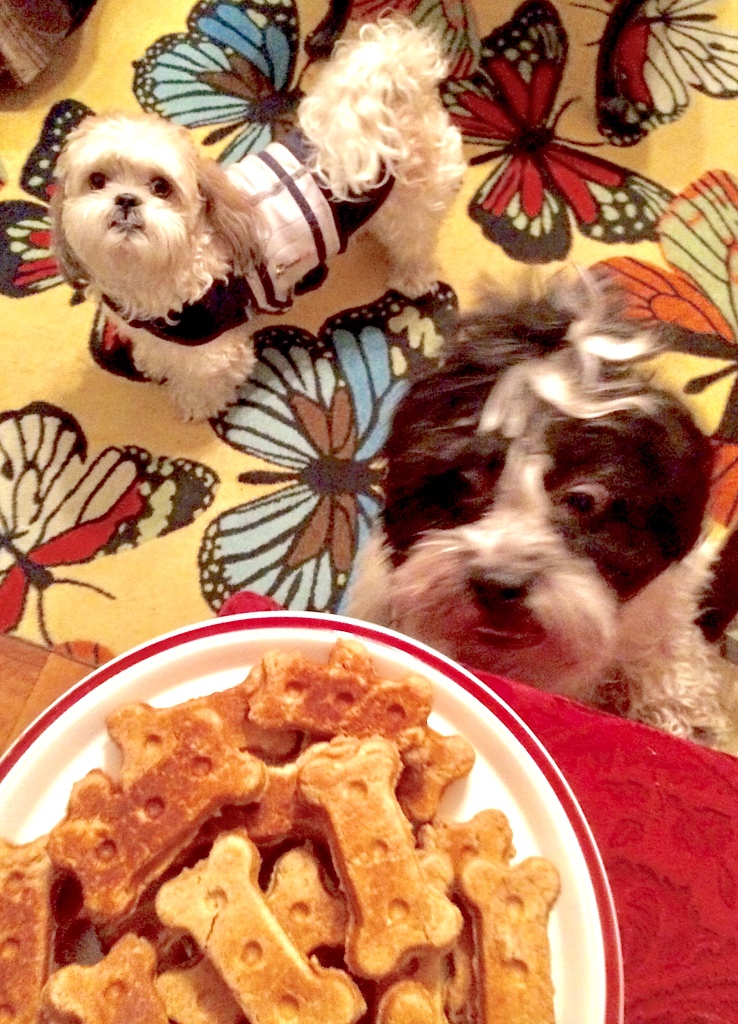
Marcel. What do you think he wants?
Gaspard, waiting for his treats.
Gaspard and Marcel do you smell something?
If eyes could talk~!

How do I help with my dog’s itchy paws?

When my boys, Gaspard and Marcel, turned age 5, I started to notice they licked their paws often. Talking with my vet, I learned that their little paw pads are like sponges soaking up everything from pollen and dust to virtually everything on the ground they step on. I wanted to help them feel more comfortable, after all, I don’t like itchy hands or feet~!

What to do ~ give them a Povidone Iodine paw soak.

The one, the only, Gaspard.

It’s great to do this when you bathe them, but takes a little organizational effort. (We do the paw soak first, then drain the tub, then shampoo, then rinse, then condition and rinse). That’s often when I do it, but, if you take your furry love outside, you can always bring them in and have them step into the tub (or a small size container where they can put all four paws at once) to do this paw soak. My vet explained that the itchiness is often yeast – which – he warned – using bath products that boast having ‘oatmeal’ in it will only add grease to the yeast fire on your dog’s paws. Consult with your vet before using ‘oatmeal’ products if you know your dog has this issue.

Povidone Iodine is an organic iodine solution, that is safe, non-toxic, anti-fungal, antibacterial, and anti-yeast. You can buy it here HUMCO 232598001 Povidone-Iodine 10 Percent 8 oz, Shape.

Here are the pre-instructions:

  1. Start by filling (depending on the size of your furry love) a bathtub, sink or any type of tub with lukewarm water. Only fill it enough to cover the paw, about 3 or 4 inches.
  2. Turn the water off and then add Providone Iodine. The water will take on the look of an orangish glow. Mixed it around evenly, you want to put enough in the water to make it look like regular ice tea color, no more, no less.
This is about the color you want the Povidone Iodine bath to look like.

Let your furry love know you are about to make their paws feel so much better. If it’s a hot season, you can make the water cooler to also give them the relief of heat, and warmer water in the winter to reduce chills.

Here are the paw soak instructions:

  1. Place your furry love in the water – make sure they stand, not that sitting in it will do any harm, but the idea is to cover the paws. I like to also massage the paw in the water, going from one paw to the other until I’ve gotten all four (but keep them submerged in the water).
  2. Set a timer for 5 minutes.
  3. When the timer finishes, you can take your furry love out – no need to rinse the paws.
  4. Pat them dry with a towel and walla ~ they’ve gotten a great paw soak that has gotten rid of any nasty, pesky germs and will feel ever so wonderful~!
Marcel just after his bath.

After I finish this paw soak, I often give them Tomlyn Deep Moisturizing Pad Cream Protecta-Pad 4 oz on their paws as well, especially in the winter months when their paws can get chapped, massaging it onto their paws. A note here, if you are a new dog owner, get in the habit with your little furry baby to massage their paws now and then. Dogs, in general have a very strong sensitivity to human fingers touching their paws – and some adult dogs will not let you do it. I trained my boys as babies to let me do this and as they became adults they loved it – and we still do it. It makes it much easier to use these products and really makes their paws soft and prevent cracking, especially in the colder climates.

Happy paw soaking~!

My little family.

Please keep in mind that all dog tips should first be consulted with your vet to make sure they fit the needs and special instructions your furry love’s Dr. advises.

Do you sing to your dog?

Do you ever wake up and really just don’t want to face the day? Early on, I recognized what a joy it was to wake up to my furry boys, Gaspard and Marcel. So much so, we created a ‘morning song’.

Gaspard and Marcel in the morning.

There’s plenty of research out there to show you that singing is good for our health, but it’s also good for our four legged friends mental health. Nothing can get the endorphins going as good as a living creature jumping, rolling, yawning and kissing you first thing when you wake up.

I don’t know how we got started on this theme and this song but every morning, just as I get to that point of ‘ok, I gotta get up’ ~ I start the song. Boy can it really lift your spirits to start your morning off with love and happiness. For my boys, they show their jubilee as if to shout out “yeah ~ another fun packed day ahead~!” If only I could look at life this way, but, alas, this what they taught me each day as I wake and sing;

(Sung to the tune of Good Morning from Singin’ In The Rain)

Good morning, Good morning ~ I hope you slept the whole night through, good morning, good morning to you. I see you in the morning, I see you in the day, I see you at the nighttime, Gaspard~! Marcel~! I hope you slept ok? Gooooood morning, good morning I hope you slept the whole night through, good morning, good morning to you~!

You can watch Singin’ in the Rain here.

Here is a very amateur example of our morning song.

How we greet our mornings.

Why does my dog get matted hair?

Marcel
&
Gaspard

An Adventure

A Shih-Poo/Shih-tzu dog combo.
Marcel and Gaspard ~ not fond of the word ‘bath’.

You go to brush your furry loves hair and opps, there are big matted areas, usually from the undercoat. What do you do?

First, the most important thing about matted hair on a dog, is to know that trying to ‘brush it out’ – even with special ‘matted scissors’ – is something you really should avoid at all costs. It is extremely painful to the dog to brush out matted hair. If you find them, simply take shears or scissors made for grooming and cut them off, and start over.

The best way is to prevent them from ever getting matted hair in the first place. Matted dog hair happens when the dog’s hair has not been brushed – it gets tangled up and then, usually unbeknownst to the owner, the hair gets wet. Alas, you have created matted hair~!

Always get in the habit of brushing your furry loves hair – if possible, nightly (or some set time each day). But, it is very important that you at least do a complete brush before your dog gets their hair wet. Most importantly, just before you bathe them.

Keep in mind, that when it rains outside, and you let them go for a walk after it’s stopped raining, their undercoat will still get wet, much like the wheels of a bike will splash water on your upside as it makes contact with water. This is often how they get matted hair under their legs and tummy area. Simply give the undercoat a quick brush before you go out on that walk and they will get it wet but no matted hair will develop.

People in my dog group often want to ‘get a product that will take the matted hair out or special comb to brush it out’. My vet warned me that there is no point in trying to do any of that because all you’ll end up doing is hurting your dog and making them afraid of seeing that ‘special brush’ each time you pull it out.

What you feed your dog, and how you groom them in the bath also affect their hair. Making sure they get OMEGA-3 oils, like Welactin with Natural Omega3 Supplement ECONOMY SIZE (473 mL) really helps keep their fur soft. We do a holistic home-cooked, vet given, recipe for the healthiest of choices. When I bathe them, they get a special iodine bath, shampooing with EARTHBATH 026501 Shea Butter and Avocado Shamp Sulfate-Free Shampoo for Dogs, 18-Ounce and then separately, after the shampoo rinse, I apply EARTHBATH 026503 Shea Butter Cond withTea Tree Oil and Panthenol conditioner for Dogs, 18-Ounce and time it on them for 5 minutes before rinsing. This keeps their hair soft and healthy. And, best of all, I’m rewarded with lots of slobbery doggy kisses.

Please keep in mind that all dog tips should first be consulted with your vet to make sure they fit the needs and special instructions your furry love’s Dr. advises.